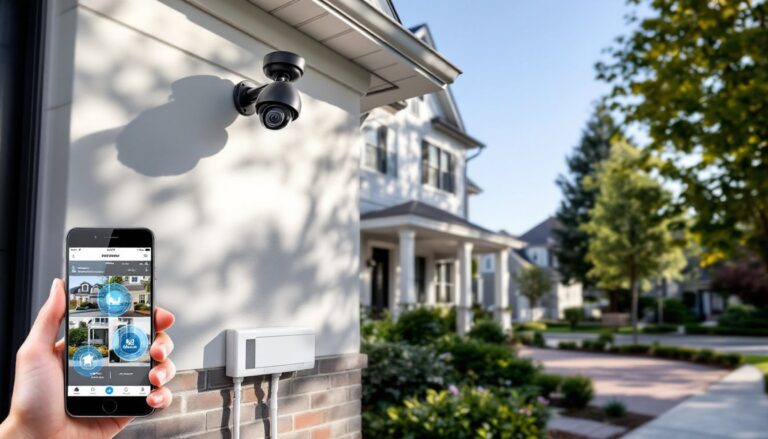
A security camera is only as good as its power supply. Whether you’re installing your first outdoor camera or expanding an existing system, getting the power equation right separates a reliable setup from one that goes dark at the worst moment. Most homeowners underestimate how much the power supply choice affects overall system performance, maintenance burden, and long-term cost. This guide walks you through the power options available in 2026, how to choose the right one for your situation, and how to keep everything running smoothly once it’s installed.
Table of Contents
ToggleKey Takeaways
- Wired security camera power supply systems offer rock-solid reliability and lower long-term costs, especially for multi-camera setups, though they require more involved installation work.
- Battery-powered wireless cameras provide installation flexibility and work well for hard-to-reach areas, but require seasonal recharging and perform poorly in cold weather below 32°F.
- Choose wired systems if cameras are within 50 feet of power sources or in cold climates; select battery or solar solutions for detached structures and sunny regions where maintenance access is easier.
- A security camera power supply must be properly sized (at least 1000mA for two to four cameras), mounted in dry locations with adequate airflow, and protected with weather-resistant conduit and junction boxes.
- Regular maintenance including monthly visual inspections, seasonal battery checks, and annual connector cleaning with dielectric grease prevents power failures and extends system lifespan.
- Voltage drop and battery performance issues can be resolved by using larger gauge wiring for long cable runs, ensuring solar panels stay clean and unshaded, and verifying power supply output with a multimeter.
Types of Security Camera Power Supplies
Wired Power Systems
Wired cameras pull power directly from your home’s electrical system, typically via 24V AC adapters or 12V DC transformers connected to standard outlets or hardwired into your panel. This is the traditional workhorse approach and offers rock-solid reliability, no batteries to charge, no solar panels to clean, no seasonal performance drop.
Most professional-grade systems (think NVR setups with multiple cameras) run on wired power because it scales easily and costs less per camera long-term. You run Cat5e or Cat6 cable between cameras and your recorder: many systems carry both data and power through the same wire, a convenience that saves an extra run.
The catch? Installation is more involved. Running cable through walls, conduit, and attic spaces requires planning, drilling, and often routing past framing studs and joists. If your recorder or power supply lives in a garage or basement far from cameras, voltage drop becomes a real concern, thicker wire mitigates it but adds cost. For homes where cameras are close to power sources, wired systems are hard to beat. Building codes in most jurisdictions (check your local authority) don’t require a permit for low-voltage camera wiring, though NEC guidelines still apply.
Battery-Powered Solutions
Battery cameras, especially the wireless kind, offer flexibility without the install headache. Lithium-ion rechargeable batteries common in 2026 models hold a charge far longer than older NiMH cells, often lasting 3–6 months per charge depending on activity level and temperature. Solar panels add another layer, letting cameras charge continuously and run indefinitely in decent sunlight.
Wireless battery cameras shine when you need to cover areas where running cable is impractical: a garage on the far side of the property, a shed, or a rental where you can’t modify wiring. They’re also ideal for renters who can’t drill into walls. Recent models from major makers have improved motion detection, so they’re not draining batteries as fast as older generation cameras.
The tradeoff is ongoing maintenance. You’ll be recharging batteries seasonally (more often in winter or cloudy climates), cleaning solar panels, and dealing with potential gaps if a battery dies before you notice. They also cost more upfront per camera and perform less reliably in very cold weather, lithium batteries lose capacity below 32°F and may not charge at all in freezing conditions. Top wireless security cameras reviewed by CNET show battery life varies widely by brand and model, so check specifications before buying.
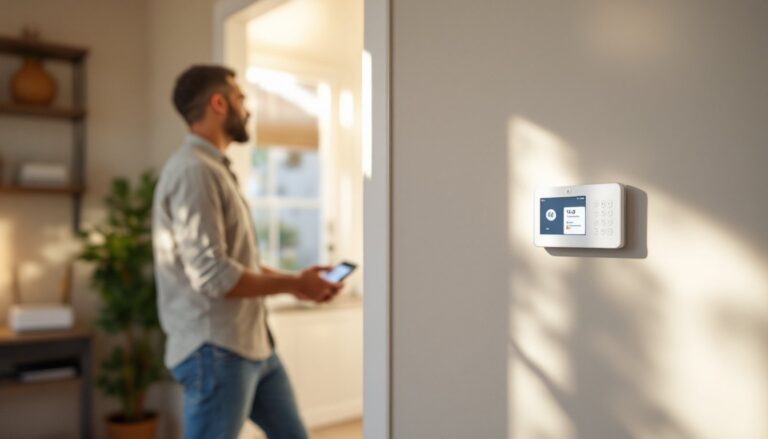
Choosing the Right Power Supply for Your Camera System
Start with your site layout. If cameras are within 50 feet of a weatherproof outlet or a wall where you can safely run cable, wired is simpler and cheaper long-term, especially if you’re installing more than two cameras. If you’re protecting a detached garage, shed, or pool house with no nearby power, battery or solar makes more sense.
Next, consider your climate. Battery cameras struggle in consistently cold regions: wired systems don’t care. If you’re in the Pacific Northwest or similar climates with frequent overcast days, solar charging will be unreliable. Conversely, in sunny climates, adding a solar panel to a battery camera can nearly eliminate charging trips.
Budget factors in too. A wired system with a central recorder (NVR) costs $400–800 for a two-camera starter kit, plus labor if you’re hiring an electrician. Each battery camera costs $150–400 with minimal installation. But, over five years, the wired system usually comes out ahead, no replacement batteries, no maintenance, and lower power consumption. Battery cameras force an annual or twice-annual recharge cycle.
Good Housekeeping’s guide to wireless outdoor cameras highlights that many homeowners choose hybrid setups: wired cameras covering the front and driveway (high-priority zones, fixed install), with battery cameras as secondary coverage for areas that are hard to wire. This gives you redundancy and reduces the install scope of wired work.
Finally, check your home’s electrical service. If your panel is full or far from camera locations, a dedicated 20A circuit (running roughly $200–400 in labor and materials) may be needed to avoid tripping breakers or running low-voltage adapters at the limit.
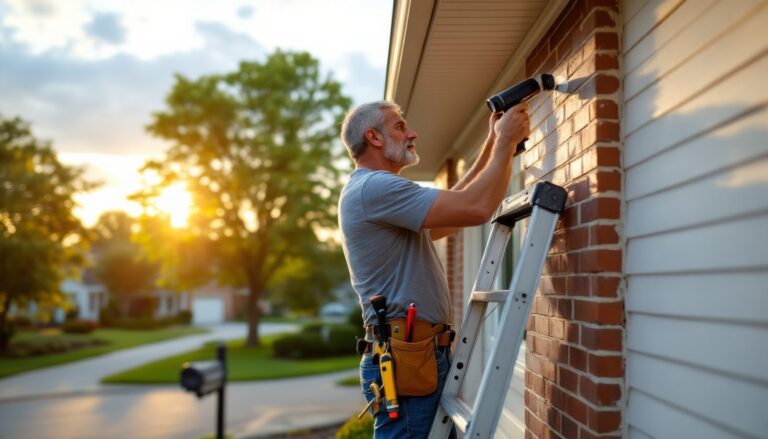
Installation Tips for Reliable Camera Power
For wired systems: Run cable in conduit if it’s exposed outdoors, UV-rated PVC or metal conduit protects against sun damage and accidental cuts. Use 24V or 12V power supplies rated for outdoor environments, meaning they’re potted (sealed with resin) and IP-rated for moisture. A 1000mA supply handles two to four cameras: go heavier if you’re running IR lights on multiple units. Mount the power supply in a dry location (attic, garage, interior wall chase) away from water pipes and heating ducts that could vibrate.
Use a weather-resistant junction box if the supply connects outside. Your power runs from the supply to cameras via Cat5e, Cat6, or dedicated two-conductor cable depending on the system. Verify polarity (positive and negative) before powering up: reversed polarity can fry a camera’s power circuit board.
For battery cameras: Fully charge before mounting. Most lithium packs benefit from a slow charge (not a fast charger), so give them 4–6 hours on a standard USB-C or micro-USB cable. Place solar panels to face south (in the Northern Hemisphere) and clean them monthly if you’re in a dusty area, even light dust cuts charging efficiency by 20–30%. Avoid shade from tree branches or roof overhangs: cameras in full shade may charge slower than they drain in active use.
Secure the camera bracket firmly, vibration from wind or impact can loosen connections over time. For both wired and battery systems, keep cameras out of direct heat sources or extreme cold zones. A camera mounted directly on a south-facing wall in Phoenix will run hot and may shut down in summer: mount it with a slight overhang or shade if possible.
Wear safety glasses when drilling into walls or running cable through ceilings: use work gloves if handling sharp cable. If tapping into your electrical panel for a new circuit, turn off power at the breaker and use a non-contact voltage tester to confirm the circuit is dead before working.
Troubleshooting Common Power Supply Issues
Wired cameras losing signal or rebooting: Check the power supply’s output voltage with a multimeter, it should read within ±10% of its rated voltage (e.g., 24V ±2.4V). If voltage is sagging, the supply may be undersized, overheating, or failing. Swap in a known-good supply to isolate the issue. Also verify the Cat5e or Cat6 cable isn’t damaged, a pinched or cut wire causes signal and power loss. If the cable runs more than 200 feet, use a larger gauge wire or a power injector mid-run to boost voltage.
Battery cameras dying faster than expected: Cold weather is the usual culprit, lithium batteries lose 5–10% capacity per 10°F drop below 32°F. If your camera’s rated to last four months and it’s dying in six weeks, the ambient temperature is likely below spec. Check the manual for operating range. Low usage recording (motion-triggered only, not continuous) extends battery life significantly compared to continuous recording modes. Also confirm the solar panel is clean and unshaded: a dirty or partially shaded panel might charge the battery but not enough to offset daily drain.
Power supply overheating: Supplies dissipate heat and need airflow. If it’s hot to the touch, ensure it’s not in a sealed enclosure or sunny location. Mount it on a wall or shelf with at least 2 inches of clearance around it. A supply running hot is near its thermal shutdown limit and may shut off unpredictably. Upgrade to a higher-wattage supply if you’ve added cameras since installation, each camera draw adds up.
Intermittent outages or flickering: Corroded or loose power connectors cause this. Turn off the camera and power supply, then disconnect and reconnect each power plug, working the connector back and forth gently to scrub oxidation. Apply a light coat of dielectric grease (non-conductive silicone spray) to connector pins to prevent future corrosion. If an outdoor connector has visible green corrosion, replace it, a $5–10 connector beats a dead camera.
Family Handyman’s overview of wireless security camera power notes that many DIYers overlook simple fixes like dead batteries in wireless cameras and dead batteries in their remotes or hubs: always start troubleshooting with the simplest explanation.
Maintaining Your Security Camera Power System
Monthly check-in: Walk around and visually inspect cables, connectors, and camera brackets. Look for loose wire, rodent damage to conduit, or water pooling near outdoor equipment. Check that the power supply LED (if present) is lit and steady.
Seasonal prep: Before winter, verify battery cameras are fully charged and solar panels are clean. In autumn, clear leaves and debris from around outdoor power supplies and camera housings to maintain airflow. Before summer, ensure outdoor supplies and cameras aren’t in direct afternoon sun with no shade, prolonged heat shortens component life.
Annual service: Clean all outdoor connectors and apply dielectric grease. Recharge battery cameras fully every 6–12 months even if not in use, sitting unused drains lithium packs over time. Test power supplies with a multimeter to confirm voltage output. Replace any batteries that won’t hold a charge (typically after 3–5 years of heavy use).
Keep records: Note the make, model, and installation date of your supply and cameras. Save warranty documentation and the manual, it’s your best friend when troubleshooting. If you upgraded equipment, take a photo of your final cable run or power setup for reference.
A well-maintained security camera power system is invisible, it just works. The little preventive effort now saves you from a dark camera and a security gap later.