If your property sits beyond the reach of reliable electrical outlets or internet infrastructure, an off-grid security camera becomes your first line of defense. Unlike traditional wired systems that depend on power lines and WiFi networks, self-powered surveillance solutions work independently, keeping your home, cabin, or rural property under watch 24/7. Whether you’re protecting a vacation home in the woods, monitoring a barn or outbuilding, or securing a remote property, off-grid security cameras offer the independence and peace of mind that grid-dependent systems simply can’t match. This guide walks you through your options, installation best practices, and the real-world considerations that separate a working setup from an overpriced paperweight gathering dust on a shelf.
Table of Contents
ToggleKey Takeaways
- Off-grid security cameras provide independent 24/7 surveillance for rural, remote, and hard-to-wire properties without reliance on power lines or broadband infrastructure.
- Solar-powered systems are the most reliable choice for long-term deployments, requiring proper sizing with a 50-watt panel and 15,000 mAh lithium battery ($200–400) to maintain operation in variable climates.
- Battery-based off-grid cameras offer flexibility for short-term use but typically hold a charge for 2–6 months and require periodic maintenance, making hybrid solar-battery setups ideal for remote locations.
- Wireless connectivity through 4G LTE cellular ($10–20/month) is the most practical solution for remote off-grid camera systems, enabling live viewing and alerts without property-level broadband.
- Proper installation—including south-facing solar panel placement, 6–10 foot mounting height, weatherproof caulking, and monthly battery checks—is critical to the success of any off-grid security setup.
What Are Off-Grid Security Cameras and Why They Matter
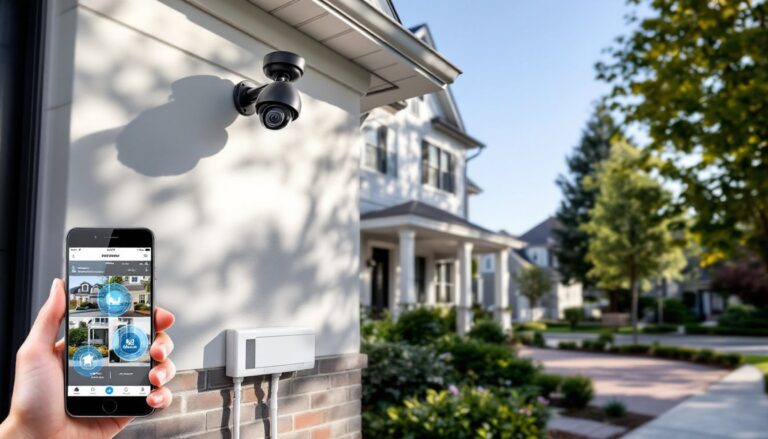
Off-grid security cameras are surveillance devices that operate independently of external power lines or internet service providers. They combine an on-site power source, typically solar panels, rechargeable batteries, or hybrid systems, with local or cloud-based storage and wireless data transmission. The key difference from standard security cameras is self-sufficiency. You’re not reliant on your utility company, and you don’t need a broadband connection to record footage or receive alerts.
Why does this matter? Rural properties, remote cabins, and construction sites often lack reliable grid power or broadband infrastructure. Even suburban homes sometimes have “dead zones” where running electrical wire or WiFi signal isn’t practical. An off-grid system eliminates those constraints. You place the camera where you need it, not where the nearest outlet happens to be. This flexibility also appeals to renters or homeowners reluctant to run conduit through walls, and it’s invaluable for temporary surveillance during renovations or while a property is under construction.
The trade-off? Off-grid systems require more upfront planning. You’ll need to account for seasonal sunlight variation, battery capacity, data transmission method, and local storage or cloud connectivity. There’s no magic here, it’s simple physics and logistics. But when properly configured, an off-grid setup delivers reliable surveillance in places that would otherwise go unwatched.
Solar-Powered Options: The Most Reliable Choice for DIYers
Solar-powered security cameras are the gold standard for off-grid installations because they tap into unlimited free energy. A typical system pairs a 12-watt to 50-watt solar panel with a rechargeable lithium or lead-acid battery bank (usually 5,000 to 20,000 mAh capacity) and a charge controller to prevent overcharging. During daylight hours, the panel tops up the battery: at night or during cloudy stretches, the battery takes over.
Solar cameras work well in temperate and sunny climates, but they’re less reliable in heavily overcast regions or during winter months when daylight is short. If you’re in the Pacific Northwest or similar climate with extended gray periods, you’ll need a oversized panel and larger battery capacity to maintain 24/7 operation. Undersizing is the most common mistake. A small 5-watt panel and 2,000 mAh battery might power a camera during June in Arizona but will fail to keep it running through November in Oregon.
How Solar Panels Keep Your Cameras Running 24/7
A solar panel converts sunlight directly into DC (direct current) electricity, which charges a battery. The camera draws power from that battery continuously. A charge controller, either PWM (Pulse-Width Modulation) or MPPT (Maximum Power Point Tracking) type, sits between the panel and battery to regulate charging speed and prevent damage. MPPT controllers are more efficient, especially in cloudy conditions, but cost 50–100% more than basic PWM models.
The math is straightforward: a typical WiFi security camera draws 2–6 watts during active recording and 0.5–2 watts in standby. If your camera records 12 hours daily (say, dusk to dawn) at an average 3-watt draw, you need 36 watt-hours of daily energy. A 30-watt solar panel in full sun generates roughly 150–200 watt-hours per day, so you’re covered, but only if weather cooperates. In cloudy climates, you’ll need to oversize accordingly or add more battery capacity as a buffer. Battery storage is the real cost driver. A 10,000 mAh lithium battery costs $80–150, while a larger 20,000 mAh setup runs $150–300. Lead-acid alternatives are cheaper upfront but heavier, less efficient in cold weather, and require more frequent replacement.
When sizing a system, calculate your camera’s power consumption (check the specs), estimate average daily sunlight hours for your location (solar irradiance data is publicly available), and add a 30–50% safety margin. Many DIYers find that a mid-range solar kit, 50-watt panel, 15,000 mAh lithium battery, MPPT controller, and weatherproof mounting hardware, runs $200–400 and supports reliable 24/7 operation in most climates.
Battery-Based Systems: Flexibility and Independence
Pure battery-powered cameras offer simplicity and work anywhere, but they’re best suited for short-term deployments or locations where you’re willing to swap or recharge batteries regularly. A standalone battery-powered camera (often with an integrated rechargeable battery rated for 3–6 months of use per charge) works plug-and-play with zero installation fuss. Just mount it, set it up via app, and forget about it until the battery drops.
The downside is maintenance. A battery-powered camera in active mode typically holds a charge for 2–6 months, depending on model, recording frequency, and temperature. In harsh winter conditions, battery life drops by 30–50%. If your property is difficult to access, say, a hilltop or lake cabin visited once per season, frequent battery swaps become a chore. Some newer battery cameras support fast-charge USB-C, which helps, but you still need periodic access to the device.
Hybrid battery-solar systems bridge this gap. A camera with a built-in battery paired with an optional solar panel charger extends runtime indefinitely while preserving the option to swap batteries if the panel fails or is shaded. This approach costs a bit more ($150–300 extra for a decent panel kit) but buys peace of mind. Models from established brands offer true 24/7 operation with minimal maintenance. When shopping, look for IPX5 or higher water-resistance rating, lithium batteries (superior cold-weather performance), and cameras with a stated battery runtime of at least 120 days in ideal conditions. That cushion matters during short winter months or extended cloud cover.
Wireless Connectivity Solutions for Remote Locations
An off-grid camera is useless if you can’t actually see the footage. Wireless connectivity is the critical missing piece for remote installations. Your main options are 4G LTE cellular, mesh WiFi extenders, satellite internet, and local storage only.
4G LTE is the most practical choice if your property has cell service. A camera with a built-in LTE modem (or one paired with a cellular hotspot) lets you view live feeds and recordings from anywhere via app, without needing broadband at the property itself. Data costs are minimal (typically $10–20 per month for a modest plan), and setup is straightforward. Check coverage maps from local carriers before committing.
Mesh WiFi extenders work if your home’s main router is within 150–300 feet of the camera: you place relay nodes between them to boost signal. This works well for properties with existing WiFi infrastructure nearby but is impractical for truly remote sites.
Satellite internet (Starlink, Viasat) has become viable and affordable in recent years. A $600–900 up-front investment plus $50–150/month provides reliable bandwidth even in remote areas. For cameras, this is overkill unless you’re running multiple devices, but it’s worth mentioning for properties where cellular isn’t available.
Local storage, recording footage to an on-camera microSD card or external NAS (Network-Attached Storage) unit via WiFi, is a low-cost fallback. You don’t get real-time alerts or remote viewing, but you do preserve evidence of theft or incident. Many off-grid cameras support this hybrid approach: record locally and push cloud backups when connectivity is available.
Installation Tips for Maximum Effectiveness
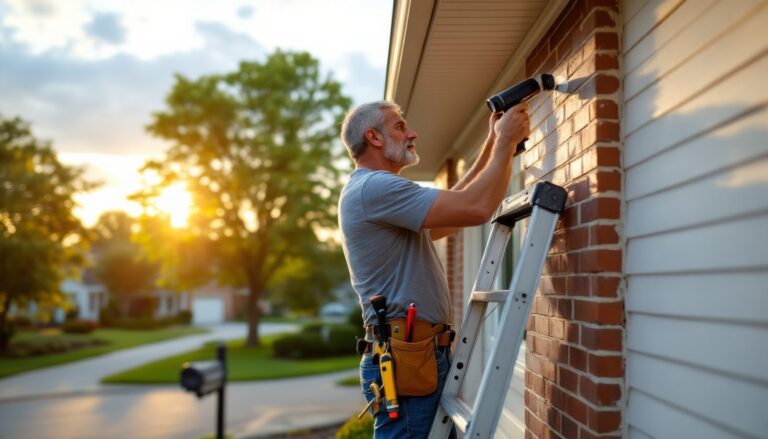
Proper installation is where most DIY off-grid camera projects either succeed or fail. Start with location. Choose a spot with unobstructed south-facing access (in the Northern Hemisphere) for the solar panel. Shade from trees or buildings during peak sun hours decimates charging efficiency. Use a digital light meter or smartphone app to check sunlight duration at your chosen spot before finalizing the install.
Mounting height matters for both visibility and security. A 6–10 foot height deters casual tampering while providing clear sightlines. Use stainless steel or galvanized hardware, standard fasteners corrode quickly outdoors. Angle the solar panel toward true south (not magnetic north: they differ) and tilt it 15–30 degrees above horizontal to optimize year-round charging. Many manufacturers provide tilt angle charts based on latitude: use them.
Cable routing requires attention. UV-resistant outdoor-rated cat-5e or cat-6 cable (if needed for ethernet) and low-voltage power leads should be concealed or protected inside conduit or cable trunking to prevent damage and wildlife chewing. Zip-tie everything securely: wind loading on a solar panel can yank loose cables.
Weatherproofing is non-negotiable. Use silicone caulk (not standard caulk) around any exposed connections, and verify that junction boxes and cable entries are rated for your climate zone. Test the setup during the worst-case season first, winter in cold climates, monsoon season in humid regions, before declaring it functional.
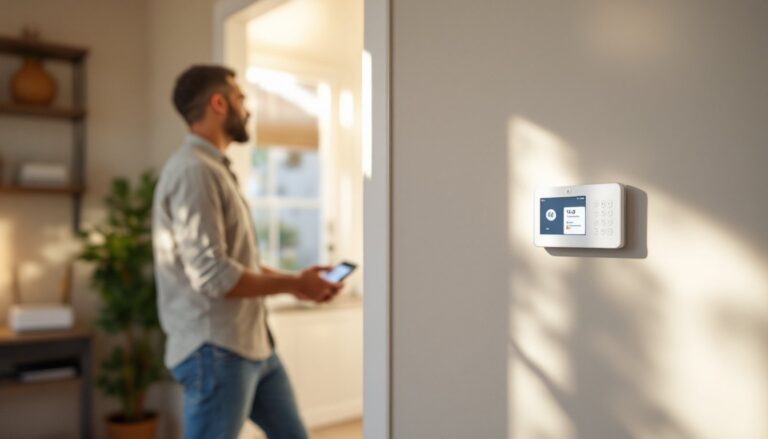
On the software side, configure your camera to record 24/7 or use motion-triggered mode to conserve battery life. Most users find motion mode with a 10–30 second pre-roll and post-roll buffer strikes a good balance. Perform a monthly battery voltage check (apps often show this) and log it. A slow decline is normal: a sudden drop signals a failing battery that needs replacement. Set up cloud backups or local storage immediately so you’re not relying solely on the camera’s limited internal memory.
Conclusion
Off-grid security cameras solve a real problem for rural, remote, and hard-to-wire properties. Solar-powered setups offer the longest operational life with minimal maintenance, while battery-only systems work best as temporary solutions or backup options. Wireless connectivity via cellular or local storage ensures you can actually access your footage. Take time to size your power system correctly, mount components for optimal sun exposure and durability, and test before the season changes. With proper planning, you’ll have reliable surveillance exactly where you need it, no electrical permits, no contractor calls, just your property under watch.