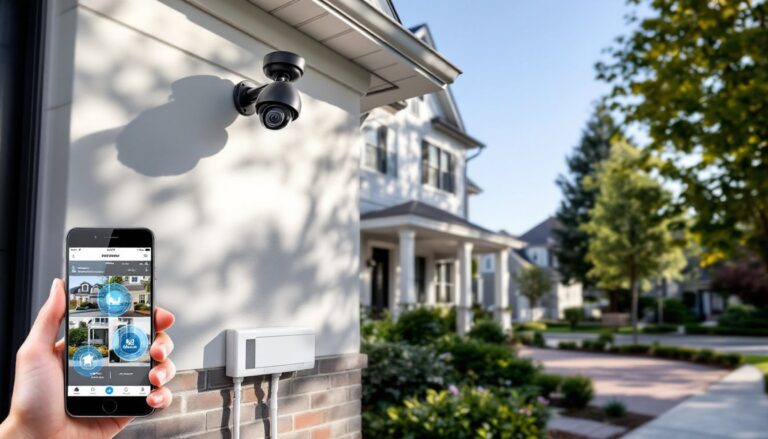
Adding security cameras to your home doesn’t have to mean hiring contractors or very costly. Whether you’re protecting a front porch, driveway, or the entire perimeter, modern security camera systems are more accessible and easier to install than ever. This guide walks you through understanding your options, planning the right layout, and tackling the installation yourself, or knowing when to call a pro. You’ll learn what features matter, how to avoid common pitfalls, and how to set up a system that actually works for your home’s unique layout.
Table of Contents
ToggleKey Takeaways
- A security camera installation company should assess whether wired or wireless systems suit your home, as wired systems offer reliability and better range while wireless systems provide faster, easier installation with WiFi dependence.
- Resolution (1080p minimum, 2K or 4K for detail), night vision quality, field of view, and IP weather ratings are critical features that directly impact security camera performance and long-term value.
- Plan your camera layout by sketching vulnerable entry points, positioning cameras 8–10 feet high for optimal face and license plate capture, and ensuring clear line of sight while avoiding glare from reflective surfaces.
- DIY installation works well for wireless systems and simple projects, but hire a professional for structural complexities, significant cable runs, or integration with existing security systems to avoid costly mistakes.
- Maintain your system monthly by cleaning lenses, verifying camera alignment, checking battery levels on wireless units, and keeping firmware updated to protect against security vulnerabilities and ensure consistent footage quality.
Understand Your Home Security Camera Options
Wired vs. Wireless Systems
Wired systems require running cables (often CAT-6 or RG-59 coaxial cable) through walls, conduit, or along exterior surfaces to a central recorder or network box. They’re reliable, don’t require battery changes, and generally offer better range and consistency, especially over long distances. The trade-off is installation labor: you’ll need to drill, route cables, and patch walls.
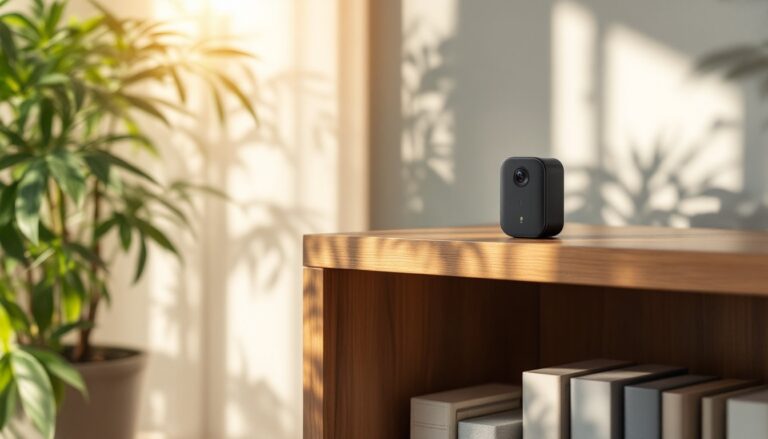
Wireless systems transmit video via WiFi and are faster to install since no cable runs are required. They work well for renters or quick deployments, but they depend on your WiFi signal strength and bandwidth. Most quality wireless cameras need 2.4 GHz or 5 GHz bands and perform best within 100–150 feet of your router. Battery-powered models need regular charging or solar panels to stay operational year-round.
Hybrid setups (mixing wired and wireless cameras) give you flexibility: place cameras where cabling is cheap or already in place, and use wireless units for hard-to-reach spots. Consider your home’s layout, WiFi strength, and whether you want to invest time in running cables versus dealing with battery maintenance.
Key Features to Look For
Resolution matters more than marketing buzzwords. Look for cameras rated at 1080p (2 megapixel) as a bare minimum: 2K or 4K cameras capture finer detail and are worth the extra cost if your system supports them. Higher resolution uses more storage, so factor in your recorder’s capacity.
Night vision should use infrared (IR) LEDs for clear black-and-white footage in darkness. Some cameras switch to a low-light color mode, which can be helpful for identifying clothing or vehicles. Test this feature during an actual dark period if possible, specifications don’t always match real-world performance.
Field of view (FOV) is measured in degrees. Wide angles (100°+) cover more ground but can distort images: narrower angles (50–80°) show less area but with better detail. Wide-angle lenses are better for driveways and entries: narrower views work for monitoring a specific path or window.
Weather resistance is critical. Check for an IP rating (e.g., IP65), where the first digit is dust protection and the second is water resistance. For outdoor cameras, IP65 or higher protects against rain and hose spray. Indoor cameras can get away with IP44.
Smart features like motion detection, person/vehicle recognition, and two-way audio are convenient but also increase power draw and data use. Decide which features you’ll actually use rather than paying for buzzwords.
Planning Your Camera Installation Layout
Start by sketching your property and marking vulnerable entry points: front door, back door, garage, side gates, and windows facing the street. Consider not just where crimes happen, but also where you want visibility for package delivery, guest arrivals, or checking on repairs in progress.
Camera placement needs clear line of sight to the area you’re monitoring. A camera mounted 8–10 feet high above a door captures faces and license plates better than one at eye level. Avoid pointing cameras directly at reflective surfaces (windows, cars) or light sources (street lamps, setting sun), which can create glare or wash out footage.
For driveways, position one camera at the top of the drive to capture vehicles entering and exiting, and another lower or to the side for plate-readable detail. Overlap coverage slightly if the budget allows, a gap in visibility defeats the purpose. If you’re installing a security camera installation company system with multiple cameras, ensure your recorder has sufficient storage for the expected footage. Most systems need 500 GB to 2 TB of storage depending on resolution and frame rate.
Check for obstacles: tree branches, gutters, downspouts, and external light fixtures can block or interfere with cameras. In cold climates, avoid mounting cameras where snow buildup or ice will blind them. If you’re unsure about cabling routes, trace them out with rope or chalk first.
DIY Installation vs. Professional Help
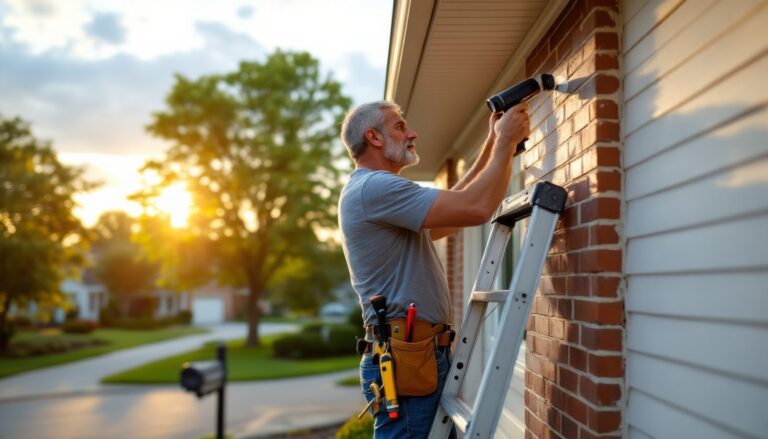
DIY installation makes sense if you’re handy with a drill, comfortable on a ladder, and have basic troubleshooting skills. Wireless systems are genuinely doable for most homeowners: a typical install takes a weekend. Wired systems demand more: running cable through walls means cutting into drywall, wrestling with fishing tape, and patching afterward. If you’ve never done this, expect a learning curve.
Hire a professional if your home has structural complications (brick, stone, multiple stories), if you need significant cable runs or conduit work, or if you’re connecting to an existing security system. A security camera system installation by a licensed installer also ensures your equipment integrates correctly with your internet and meets local code requirements. Many jurisdictions don’t regulate residential security cameras, but some require permits for professional installation or hardwired systems. Check with your local building department.
Professional installation costs typically range from $500–$2,000 depending on system size and complexity. That’s expensive, but it’s also insurance against botched wiring, WiFi dead zones, or incompatible hardware. If the project feels over your head, get a free quote from a local installer before committing.
Step-by-Step Installation Process
Before you start: Turn off power at the breaker if running hardwired cameras, and gather your tools. You’ll need a cordless drill, bits (for pilot holes and cable conduit), a ladder, a level, a tape measure, a stud finder (for securely mounting outdoor brackets), and work gloves. For wireless cameras, verify WiFi signal strength at each planned location using your phone: if the signal is weak, relocate your router or add a mesh extender first.
Step 1: Mount the cameras. Use the mounting bracket that comes with your camera. For outdoor locations, drill pilot holes into masonry or wood studs, never just screw into drywall above a door, as it won’t support the camera’s weight through wind and vibration. Use expanding anchors or heavy-duty wall plugs rated for your region’s wind loads. Apply a thin bead of outdoor silicone caulk around the base to seal gaps and prevent water intrusion. Ensure the camera is level.
Step 2: Run cables (wired systems only). If your system requires cables, route them along the soffit, under the eaves, or through conduit to hide them and protect them from UV damage and rodents. Staple cables every 16–24 inches, but never staple so tightly that the cable crushes. Use cable clips, not nails or staples, for flex cable like RG-59. At connection points, use weatherproof junction boxes and seal all openings with silicone.
Step 3: Connect to power. For hardwired cameras, run power lines through the same conduit as video cable if possible. If you’re plugging in cameras near outlets, use outdoor-rated GFCI outlets (ground-fault circuit interrupter) to prevent shock hazards. For battery-powered cameras, fully charge them before mounting, a dead camera is useless.
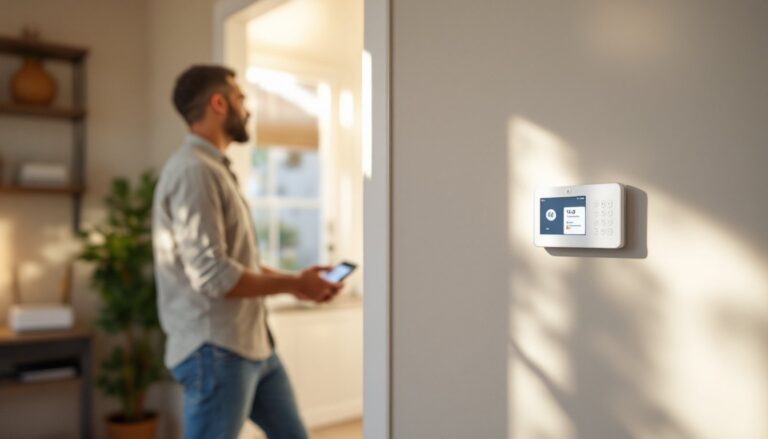
Step 4: Configure the system. Connect your recorder, NVR (network video recorder), or DVR (digital video recorder) to your home network and set up user accounts. Ensure all cameras are detected and recording. Professional installation guidance can help if you hit snags, but most modern systems include straightforward app-based setup. Test each camera’s view from the app before finalizing placement.
Step 5: Test and secure. Walk through the coverage areas at different times of day, morning, afternoon, and night. Verify that motion alerts work and that footage quality is acceptable. If image quality disappoints, adjust the camera angle or FOV settings before moving on. Once you’re satisfied, tighten all fasteners and apply weatherproof sealant around mounting brackets.
Maintaining and Monitoring Your System
Security cameras aren’t set-and-forget. Schedule monthly checks: wipe lenses clean with a soft, dry cloth (grime and cobwebs degrade image quality), verify that cameras are still level and pointed at the intended area, and confirm that the system is recording. Winter weather, especially in regions with heavy snow or ice, can damage cameras or obscure lenses within days.
Battery-powered cameras need regular charging or solar-panel upkeep. A dead camera creates a false sense of security, so set reminders to check battery levels quarterly. Hardwired systems are more reliable but require occasional inspection for loose connections, corroded cable ends, or wind-damaged brackets.
Storage management is critical. Most systems overwrite old footage automatically once the drive is full, but periodically back up footage of important events (break-ins, accidents, contractor work). Many systems support cloud backup: while it adds a monthly fee, it protects footage if someone steals your recorder.
Keep your WiFi and firmware up to date if your cameras connect to the internet. Security flaws in connected devices are discovered regularly, and manufacturers patch them through updates. Check the camera manufacturer’s app quarterly for available updates.
Finally, review footage if there’s suspicious activity. A visible security camera is a deterrent, but actual recordings are evidence, and they’re only useful if you know how to access and save them.