Security doesn’t have to cost a fortune. Whether you’re a first-time homeowner or a seasoned DIY enthusiast, setting up a budget security camera system is one of the smartest investments you can make without draining your wallet. Modern affordable cameras deliver solid video quality, night vision, and remote access, features that were luxury items just a few years ago. The trick is knowing what to prioritize and how to avoid the pitfalls of ultra-cheap equipment that leaves you squinting at grainy footage. This guide walks you through the essentials of choosing and installing a budget security camera system that actually works.
Table of Contents
ToggleKey Takeaways
- A budget security camera system in the $150–$400 range delivers reliable motion detection, night vision, and smartphone alerts without expensive monthly subscription fees.
- Prioritize 1080p resolution and infrared night vision with a 20–30 foot IR range over unnecessary AI features, as these core capabilities matter most for practical home protection.
- Local storage via SD cards or networked drives eliminates cloud subscription costs entirely, while hybrid approaches combine local backup with cloud access for flexibility and redundancy.
- Proper camera placement at 8–10 feet high with a slight downward angle ensures facial recognition and deters tampering better than height and positioning alone.
- Test your WiFi signal strength and plan your wired vs. wireless setup before purchasing; strong connectivity is essential to avoid frustration and system dropouts.
- Self-installation with basic tools and thorough pre-mounting testing saves hundreds in professional fees while giving you complete control and troubleshooting knowledge.
What Makes a Budget Security Camera System Worth Your Investment
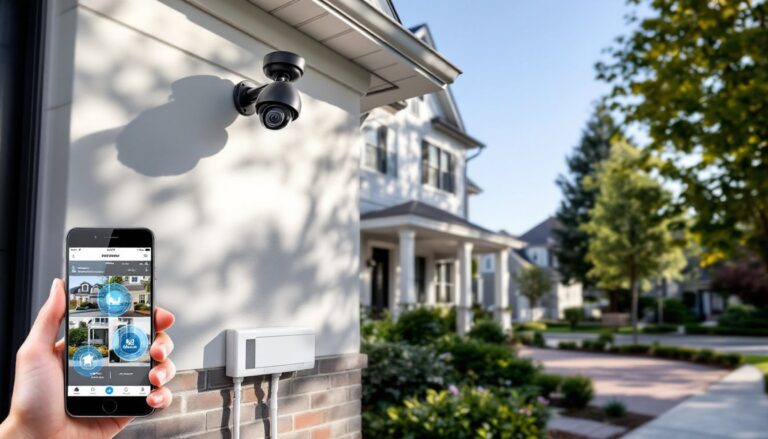
A budget security camera system doesn’t mean settling for poor protection, it means being smart about where your money goes. The sweet spot for most homeowners sits between $150 and $400 for a complete system, covering 2–4 camera positions with basic cloud storage. This range gets you reliable motion detection, night vision, and smartphone alerts without monthly subscription fees that rival your streaming services.
The real value emerges when you focus on core functionality: can you see who’s at your door or approaching a window? Will the system notify you in real time? Can you access footage remotely? These questions matter far more than bleeding-edge AI or 4K resolution. According to CNET’s budget camera review, homeowners often find that cameras in the $30–$60 range outperform expectations when properly positioned and connected.
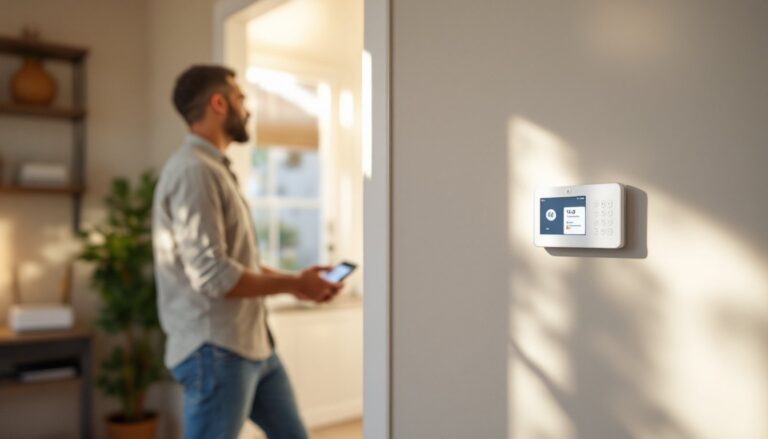
Many homeowners assume they need professional installation, but that’s rarely necessary with wireless or simple wired systems. Handling setup yourself saves hundreds and gives you complete control over placement and configuration. You’ll understand your system intimately, what matters when something needs troubleshooting at 11 p.m.
Key Features to Prioritize When Shopping on a Budget
When you’re balancing cost against capability, focus your budget on three core areas: video clarity, reliable night vision, and straightforward cloud access. Skip the marketing hype about AI person-detection or advanced facial recognition, these rarely work as advertised on budget hardware.
Video Quality and Night Vision Capabilities
1080p resolution is the practical minimum for identifying faces or license plates from 15–20 feet away. It’s a solid standard: 2K or 4K adds detail but also inflates the price and requires more storage. Night vision, specifically infrared (IR) LED, matters enormously if you’re monitoring outdoor areas or poorly lit spaces. Test reviews focus heavily on IR performance, and for good reason: a $50 camera with poor night vision is nearly useless after sunset.
Look for cameras labeled with IR range (typically 20–30 feet). Wide-angle lens options (90–110 degrees) reduce blind spots without buying more cameras. Color night vision sounds appealing but often looks washed-out and requires excellent outdoor lighting to function. Stick with standard IR unless you have a specific reason.
Frame rate and compression matter too. 30 fps (frames per second) is standard and captures smooth motion. Some budget models drop to 15 fps to save bandwidth, which can make quick movements look choppy. Check product specs carefully, many don’t advertise this clearly.
Cloud Storage and Accessibility Options
Cloud storage usually comes with a catch: either you pay monthly, or you get limited free storage (typically 7–14 days). Free tiers work fine for monitoring recent events but won’t retain footage for weeks. Calculate what you actually need. If you’re mainly checking “Did the delivery person ring the bell?” then 14 days covers your use case. If you need incident evidence dating back a month, budget for a modest subscription, usually $3–$10/month per camera.
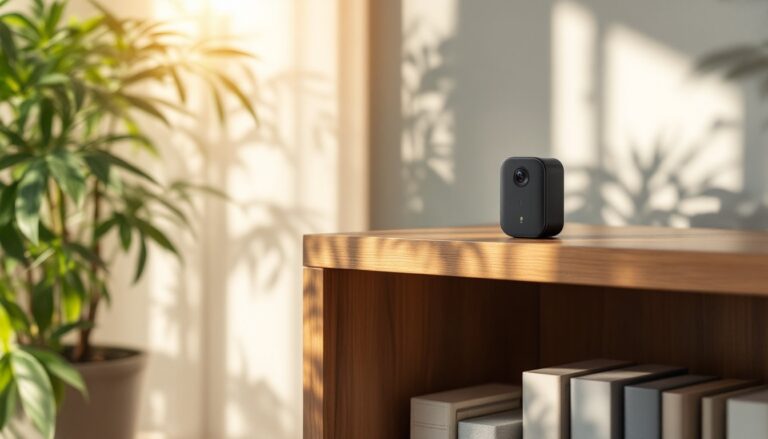
Local storage, using an SD card inside the camera or a networked hard drive, avoids cloud fees entirely. Budget cameras often support both options. An SD card (128 GB or larger) costs $15–$30 and stores 2–3 weeks of continuous recording, depending on resolution and compression. This hybrid approach (local backup + cloud for remote access) gives you flexibility without very costly.
Accessibility means smartphone apps that actually work. The best budget systems use RTSP (Real Time Streaming Protocol) or proprietary apps that load quickly and show live feeds with minimal lag. Test-drive the app interface during your research, a clunky app wastes time every single day. Digital Trends’ budget camera analysis highlights user experience as a critical differentiator among affordable models.
Wired vs. Wireless: Finding the Right Setup for Your Home
The choice between wired and wireless systems depends on your home layout, electrical access, and comfort with running cables. Neither is inherently “better”, context matters.
Wireless (WiFi) cameras require a strong 2.4 GHz WiFi signal at the installation point. They’re simple to install (mount, plug in power, connect to app) and relocate easily if you change your mind. Downsides: they depend on your internet connection, battery-powered models need regular charging, and signal strength varies. Many budget wireless systems draw power via USB or plug adapters, not batteries, so “wireless” really means no coax cables, not cordless operation.
Wired systems run coax cable (RG59 or RG6) from cameras to a central DVR or NVR recorder. They’re more reliable (no WiFi dependency), support longer cable runs (up to 500 feet on older coax), and don’t drain batteries. Installation is messier: drilling holes, routing cables through walls, and hiding ugly wires. If you’re comfortable with basic electrical work, the payoff is a rock-solid system.
For most budget-conscious homeowners, a hybrid approach works best: wireless cameras where WiFi is strong, one or two wired cameras where you need reliability. A wired DVR recorder ($80–$150) stores footage locally and works even if internet goes down. This setup avoids monthly cloud fees and provides redundancy.
Before deciding, check your WiFi coverage at each planned camera location. If your router struggles to reach certain areas, wireless cameras will frustrate you constantly. Good Housekeeping’s security camera guide emphasizes connectivity as essential to user satisfaction.
Installation Tips for DIY Homeowners
Installing a budget security camera system is achievable for anyone comfortable with basic tools. The key is proper planning and realistic expectations about your workspace.
Before you buy anything:
- Walk the perimeter and identify blind spots (corners where two walls meet, door approaches, ground-level windows).
- Measure distances from proposed camera locations to your WiFi router or recorder.
- Test WiFi signal strength using your phone at each spot, weak signal leads to dropouts and frustration.
- Note where power outlets and electrical access exist (for wired systems, run cables during daylight if you’re working indoors).
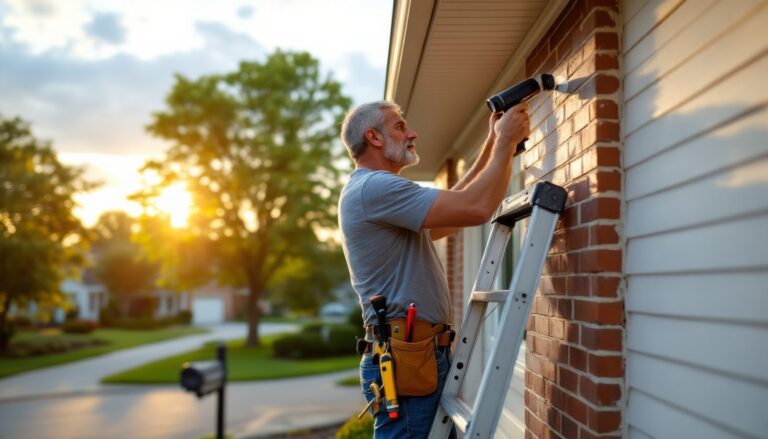
Mounting and positioning:
- Mount cameras 8–10 feet high, high enough to avoid tampering, low enough to capture facial detail.
- Angle downward slightly (10–15 degrees) so you capture faces rather than the top of someone’s head.
- Avoid direct sunlight on the lens (causes lens flare and poor contrast). East or north-facing installations work best.
- Position cameras to minimize obstacles: tree branches, decorative elements, or reflective surfaces (windows, mirrors) that confuse IR sensors.
Tools you’ll need:
- Drill (if mounting to masonry or running cables through walls).
- Level (camera tilt matters for consistent framing).
- Cable staples for coax runs (every 16 inches along conduit).
- Weatherproof silicone caulk around cable entry points to prevent water infiltration.
Safety reminders:
- Wear safety glasses when drilling overhead.
- Use a stud finder to avoid drilling into structural members or hidden wiring.
- If running cables through walls or attics, use a wire fish tool or existing conduit, never force cables that could bind.
- Check local building codes: some jurisdictions require permits for camera systems recording neighbors’ properties. Yes, it sounds paranoid, but it’s real, check with your local building department first.
Testing before final installation:
- Plug in each camera and confirm it powers up and connects to your network.
- Open the app and verify live feed is responsive.
- Test night vision in a dark room or at dusk.
- Record a test video clip and review playback quality.
These checks catch defective units and configuration issues before you’re committed to permanent mounting. A failed camera discovered during setup costs you an afternoon: discovered six months later costs you evidence.
Conclusion
A budget security camera system doesn’t require professional installation, expensive monthly fees, or fancy features you’ll never use. Smart choices, prioritizing night vision and video clarity, selecting wired or wireless based on your home’s layout, and taking time to position cameras thoughtfully, deliver genuine protection without the premium price tag. Start with thorough planning, test your system thoroughly before permanent mounting, and you’ll have a reliable setup that works for years. Your home security matters: your budget doesn’t have to suffer for it.