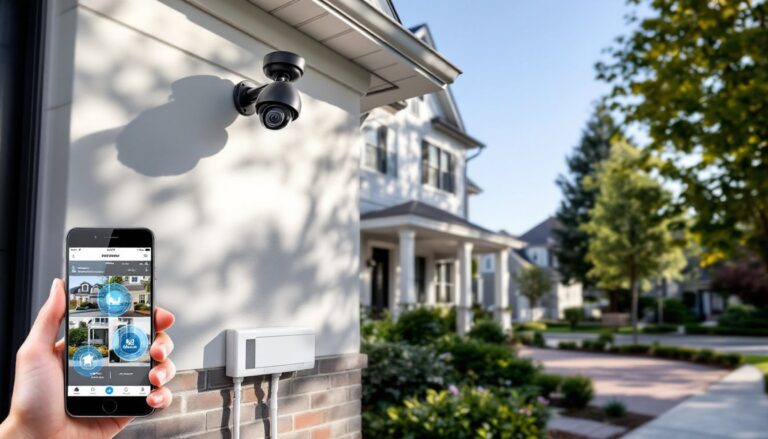
If you’re looking to add security to your home without very costly or drowning in a sea of software subscriptions, analog security cameras might be exactly what you need. Unlike newer digital systems that require constant connectivity and cloud storage, analog cameras offer a straightforward, reliable approach to monitoring your property. They’ve been around for decades, and that longevity means the technology is proven, affordable, and surprisingly DIY-friendly. Whether you’re protecting a front porch, driveway, or backyard, understanding how analog systems work, and how to install them yourself, can save you hundreds in professional installation fees while giving you peace of mind.
Table of Contents
ToggleKey Takeaways
- Analog security cameras provide affordable, DIY-friendly home protection without costly subscriptions or complex networking requirements.
- Analog cameras transmit uncompressed video signals directly through coaxial cable to a DVR, offering proven reliability and simplicity that makes installation and troubleshooting straightforward.
- Proper weatherproofing—including UV-rated cable, sealed cable entries, and regular maintenance—is critical to prevent water damage and extend system lifespan to 5+ years.
- Setting up an analog security camera system requires minimal tools and takes only a weekend, with cameras typically costing $40–$100 compared to $80–$150 for entry-level IP cameras.
- Regular maintenance like lens cleaning, connector inspection, and DVR cooling checks ensures continuous recording quality and prevents premature hardware failure.
- Most DIY homeowners can handle basic installation and maintenance themselves, though professional technicians are worth consulting for complex signal issues or cable damage.
What Are Analog Security Cameras and How Do They Work
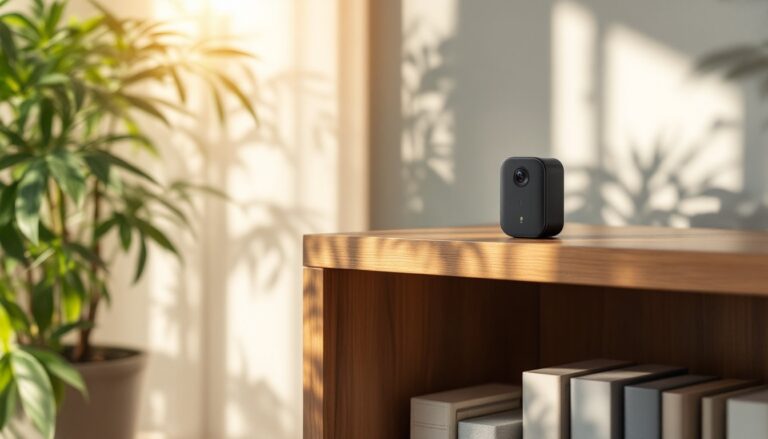
Analog security cameras capture video and transmit it as an electronic signal down coaxial cable (often labeled RG-6) to a digital video recorder (DVR) or monitor. The camera itself contains a lens and an image sensor that converts light into electrical signals, no internet required. The DVR then stores the video on a hard drive, and you can rewind, fast-forward, or export footage whenever you need it.
The key difference from digital IP cameras is that analog cameras don’t compress or encode video before sending it down the wire. What comes out of the camera goes straight to the recorder. This simplicity is both a strength and a limitation. On the upside, setup is mechanical: you run cable, plug things in, and it works. On the downside, analog cameras typically max out around 1080p resolution, while modern IP cameras can exceed 4K. Still, for a homeowner checking whether someone’s lurking near the mailbox, 1080p is plenty.
Most home analog setups use what’s called a closed-circuit television (CCTV) arrangement, cameras feed only to a local DVR, not to the cloud or a distant server. This means your footage stays on your premises, and no hacker needs an internet connection to spy on your system if they’re standing in your driveway.
Why Choose Analog Over Digital Systems
For a DIY homeowner, analog cameras have genuine advantages. First, they’re cheaper, both the cameras themselves and the installation hardware. A decent analog camera runs $40–$100, while entry-level IP cameras start around $80–$150. That gap widens when you factor in networking gear.
Second, analog systems are rock-solid simple. You don’t need to troubleshoot Wi-Fi connectivity, update firmware, or configure port forwarding on your router. The signal travels down a single coaxial cable to your DVR: it either works or it doesn’t, and if it doesn’t, the problem is usually a loose connection or a damaged cable, not some mysterious network glitch.
Third, analog cameras work in older homes without requiring a massive network upgrade. If your house was built before high-speed internet was standard, you’re not fighting bandwidth limitations. Your DVR is often a compact unit that tucks into a closet or garage, not a rack-mounted server.
That said, analog isn’t perfect. You can’t remotely view footage from your phone as easily as you might with an IP camera (though some DVRs offer apps or cloud tie-ins these days). Resolution maxes out lower, and if you want to cover a large property, you may need more cameras to capture the same ground. A comparison of options like this is why reviewing Best Home Security Camera choices can help you weigh your specific needs before committing.
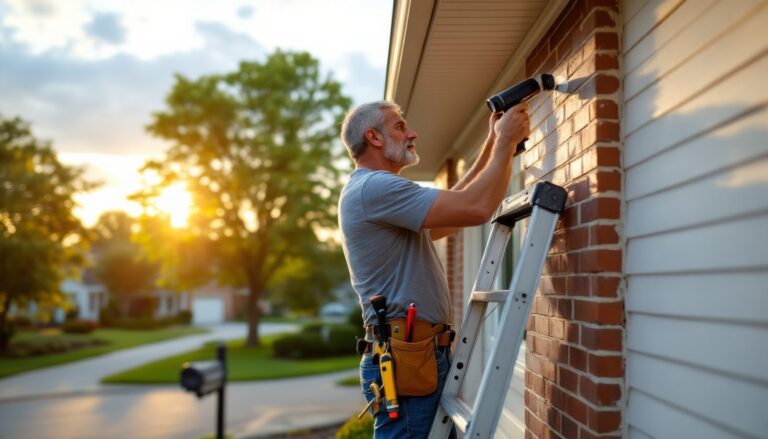
Installation Basics for DIY Homeowners
Cable Routing and Weatherproofing Tips
Planning Your Run
Before you drill or run a single cable, map out where your cameras will mount and trace the path the cable will take to your DVR. Outdoors, run cable along eaves, fence lines, or under siding whenever possible, not dangling across your yard where someone can trip or cut it. If you must cross open ground, bury it at least 12 inches deep in conduit to protect it from foot traffic and weather.
For outdoor runs, use UV-rated RG-6 coaxial cable (not regular indoor-grade cable, which will crack in sunlight). Cost difference is minimal, usually an extra dollar or two per foot.
Weatherproofing the Camera
If you’re mounting a camera outdoors, you need weatherproof housing. Many analog cameras come with or need a junction box, a small enclosure where the cable terminates at the camera. Seal all entry points with silicone caulk (not expandable foam, which can shrink and leave gaps). Water intrusion is the #1 reason outdoor security cameras fail.
When mounting, angle the camera slightly downward so rain runs off rather than pooling on the lens. Use stainless steel hardware (bolts, brackets, screws) to resist rust. Standard mounting brackets are inexpensive ($15–$30) and bolt directly to fascia, fence posts, or corners.
Cable Entry Into Your Home
Where cable enters the house, drill a hole slightly larger than the cable and angle it downward (not upright, where water pools). Run the cable through conduit or a rubber grommet to keep sharp edges from cutting the sheath. Inside, you can let it run behind baseboards or along walls, nobody sees it, and it stays protected.
Tools You’ll Need
- Cordless drill with bits (for mounting and hole drilling)
- Cable crimper and RG-6 end connectors (BNC-type for analog cameras)
- Utility knife (for stripping cable jacket)
- Silicone caulk and caulk gun
- Stainless steel bolts, brackets, washers
- Level (for straight camera alignment)
- Multimeter (optional, for testing signal)
The Actual Install
- Mount the camera bracket first: use a level to ensure the bracket is true.
- Run cable from the camera location to your DVR location, leaving 2–3 feet of slack at each end for connections.
- Terminate the cable ends with BNC connectors. Crimp-on connectors are faster: screw-on are more beginner-friendly but take longer.
- Plug the camera-end cable into the camera’s BNC connector.
- Plug the DVR-end into the DVR’s camera input port.
- Power the camera (usually via a 12V power adapter near the DVR or a dedicated power supply).
- Seal all outdoor entry points with silicone caulk and let cure per the product instructions.
Don’t skip caulk. Seriously. A $2 tube of silicone saves you from a $300 water-damaged camera.
Is This a Permit Job?
In most jurisdictions, mounting cameras on your own property doesn’t require a permit. But, if you’re drilling through load-bearing walls, running electrical independently, or adding to a security system that ties into alarm monitoring, check with your local building department. When in doubt, ask, permits are cheap compared to removing work you shouldn’t have done.
Maintenance and Longevity
Analog systems are durable, but they’re not zero-maintenance. Here’s what homeowners typically overlook:
Cleaning and Inspection
Every six months, wipe the camera lens with a soft, dry cloth. Dust, pollen, and spider webs degrade image quality faster than people realize. If the lens is corroded or spotted from water, use a lens cleaning solution (the kind for eyeglasses works) and a microfiber cloth. Inspect cable connections outdoors for corrosion: if you spot green oxidation on the BNC connectors, disconnect them and clean with a pencil eraser or contact cleaner.
DVR Maintenance
Your DVR is essentially a computer with a hard drive. Every few months, boot it up and check that recordings are happening. Look at the hard drive status light, it should flicker occasionally, not stay dark. If your DVR has a cooling fan, vacuum the intake grille yearly to prevent dust buildup. Overheating shortens drive life dramatically. Keep the DVR in a climate-controlled space (not an uninsulated garage in summer), ideally between 50–85°F.
Cable and Connector Care
Cables don’t last forever outdoors. UV exposure and temperature swings cause the outer jacket to become brittle. Around year five, do a visual inspection. If the cable feels stiff, cracks are visible, or the connectors are corroded even though your best efforts, replace that run. Prevention beats repair: make sure UV-rated cable is used from the start, and keep connections dry.
Hard Drive Replacement
Most DVR hard drives last 3–5 years under continuous use. Some record 24/7: others record only on motion. When your drive starts failing, the DVR will alarm or show “no disk” errors. Replacement drives (usually 1–4 TB, depending on your DVR model) cost $50–$150. Swapping one takes about five minutes: power down, pop the cover, disconnect the old drive, slide in the new one, and reboot. Your DVR will reformat it automatically.
When to Call a Pro
If your signal cuts out intermittently, you suspect cable damage underground, or your DVR won’t boot, a technician can troubleshoot faster than guessing. The cost ($75–$150 for a service call) is worth it for complex problems. Simple checks like loose connectors or dead power adapters are worth testing yourself first. Many installers appreciate homeowners who’ve already ruled out the obvious.
Conclusion
Analog security cameras offer homeowners a straightforward, affordable way to protect their property without relying on cloud subscriptions or complex networking. The technology has proven itself over decades, and for DIY installation, it’s hard to beat. You’ll find additional options and insights by exploring Home Security Cameras: The Essential Tool for Protecting Your Home Today or comparing systems with a Security System Comparison guide. With careful planning, the right tools, and attention to weatherproofing, you can have a working system in a weekend and years of reliable footage to back you up.