A 360-degree security camera delivers what homeowners have always wanted: a single, sweeping view of an entire space without blind spots. Unlike traditional cameras that capture a fixed field of view, 360-degree models use panoramic or fisheye sensors to monitor expansive areas, yards, entryways, garages, and more, from one device. They’ve become a practical solution for DIY home security, offering flexibility, simpler installation than multi-camera setups, and increasingly affordable pricing. Whether you’re protecting your front porch, monitoring a backyard, or securing an interior room, understanding how these cameras work and which type suits your needs will help you make a smart, informed choice for your home.
Table of Contents
ToggleKey Takeaways
- A 360-degree security camera eliminates blind spots by capturing panoramic coverage of entire spaces from a single device, replacing the need for multiple fixed cameras.
- 360-degree models use panoramic or fisheye sensors with digital pan, tilt, and zoom capabilities, allowing you to adjust your view after recording without moving parts or mechanical failure.
- Indoor 360-degree cameras mount easily to ceilings and cost $80–$250, while outdoor models require weatherproofing (IP65/IP66 rating) and more robust installation planning at $150–$400.
- Proper DIY installation requires careful placement at a high vantage point, solid framing attachment (not drywall anchors alone), and sealed cable entries for outdoor models to prevent water damage.
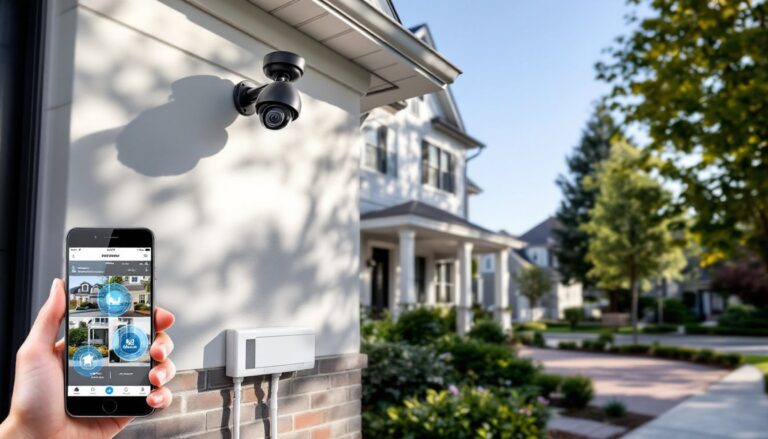
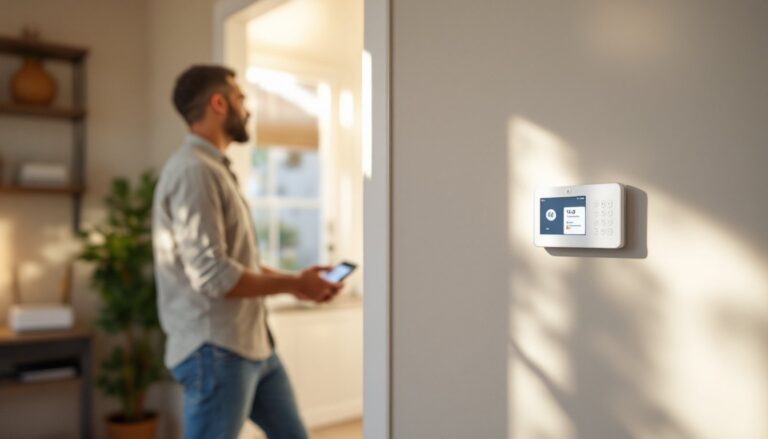
- 360-degree security cameras include standard features like motion detection, infrared night vision, and two-way audio, all accessible from your smartphone via WiFi or Ethernet connection.
- Choosing between indoor and outdoor depends on your environment: mount indoors near the room center for complete sight lines, or outdoors on eaves and poles for perimeter surveillance.
What Are 360 Degree Security Cameras and How Do They Work?
A 360-degree security camera uses a wide-angle or fisheye lens to capture a panoramic view in one or more directions. Most models use either a single panoramic sensor (shooting 180 to 360 degrees horizontally) or a fisheye lens (up to 360 degrees in all directions). The camera’s digital processing stitches multiple image feeds together in real time, or stores footage that allows you to pan, tilt, and zoom digitally after recording.
When you connect the camera to your home network via WiFi or Ethernet, the footage streams to your smartphone, tablet, or computer through a dedicated app or cloud service. This means you’re looking at live or recorded video from anywhere, no need to be home, and no need to swivel a traditional PTZ (pan-tilt-zoom) camera manually. Many 360-degree models also include motion detection, night vision, and two-way audio, so you can hear and speak to visitors or flag suspicious activity in real time.
The key advantage is coverage. Where a standard camera might see your front door and part of your driveway, a 360-degree model captures your entire front, side yard, and sometimes around the corner, all without moving parts. This makes them reliable and less prone to mechanical failure than motorized cameras.
Key Benefits for Homeowners
Comprehensive coverage is the headline benefit. A single 360-degree camera replaces what might otherwise be two, three, or four fixed cameras, which means fewer devices to power, fewer cables to run, and fewer cloud subscriptions to manage. For renters or homeowners hesitant about permanent installation, this simplicity is a game-changer.
Flexibility in viewing sets these cameras apart. After recording, you’re not locked into what the camera was “looking at” in that moment. You can digitally pan and zoom to check different areas of the frame, rewind and review specific zones, or create activity maps that show which areas had motion. That’s impossible with a traditional fixed-angle camera. Products like the Ezviz ez360 Pano demonstrate how seamless this digital control can be, you adjust your view within the app without waiting for a motor to turn.
Simpler installation appeals to the DIY crowd. Most models are compact and either mount on a wall, ceiling, or pole with basic brackets. You won’t need to run separate cables for multiple cameras or spend hours on cable management. A single power source and a WiFi connection get you most of the way there. Because they’re less invasive than multi-camera systems, they also tend to feel less obtrusive in your home or yard.
Night vision and motion detection are standard. When darkness falls, infrared LEDs activate automatically, and most 360-degree models deliver clear grayscale footage. Motion alerts notify your phone immediately if something unusual happens, reducing the need to constantly check footage.
Indoor vs. Outdoor 360 Cameras: Which Is Right for You?
Indoor Options for Complete Coverage
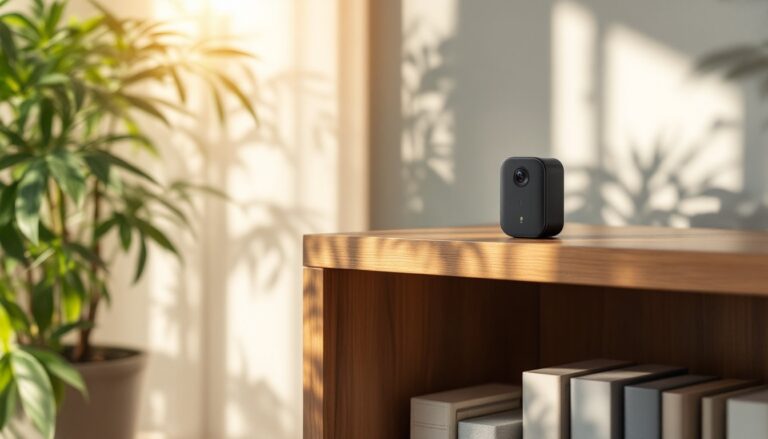
Indoor 360-degree cameras are designed for dry environments and typically use standard plug-in power. They’re ideal for monitoring a single room, hallway, or open-plan living space where you want complete sight lines without relying on multiple devices.
Ceiling mounting is most common for indoor models, you’ll position the camera roughly in the center of the space and let it survey the entire room. A few things to keep in mind: fisheye distortion (that “stretched” look at the edges) is more noticeable in indoor footage, but the app usually lets you crop or rotate the view to minimize it. Power is straightforward, plug it into an outlet and connect to WiFi. No special wiring or permits needed.
Indoor cameras work well for garages, basements, living rooms, and entryways. If you’re worried about dust or pets bumping the device, choose a model with a sturdy mount and a protective case. Most indoor 360 cameras cost between $80 and $250, depending on resolution (1080p vs. 2K or 4K) and smart-home integration.
Outdoor Models for Perimeter Security
Outdoor 360-degree cameras are built tougher. They’re rated for IP65 or IP66 weatherproofing (meaning they resist dust and sustained water jets), and their housing handles UV exposure and temperature swings. You’ll typically mount them on eaves, patios, gate posts, or poles around your property’s perimeter.
Weatherproofing is non-negotiable. A camera mounted under an eave still gets wind-driven rain and morning dew: an outdoor model’s sealed connectors and gaskets prevent moisture infiltration. Power delivery varies: some use standard outdoor outlets (with GFCI protection required), while others support PoE (Power over Ethernet), meaning a single cable delivers both data and power. PoE simplifies installation if you’re running cable through walls or conduit, no separate power lines needed.
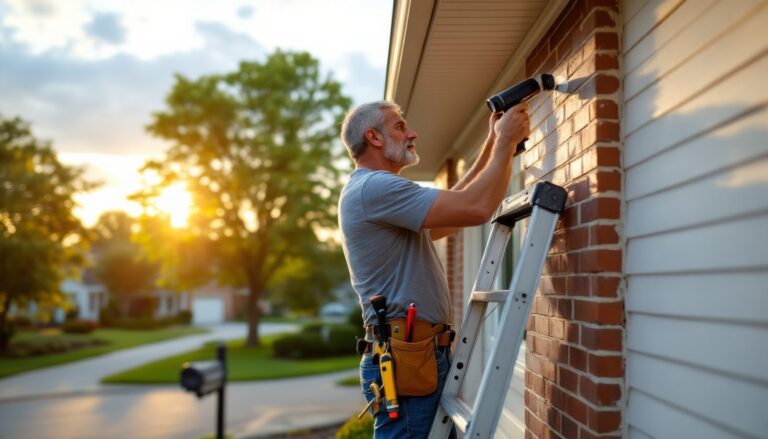
Mounting outdoors requires a bit more planning. Ensure the bracket is rated for your camera’s weight, that fasteners are stainless steel or galvanized (rust prevention), and that you’re anchoring into solid framing, a stud in the soffit or a joist in the roof. If mounting to a masonry eave, use concrete anchors rated for the camera’s weight plus wind load: check local building codes for specific requirements, as some jurisdictions mandate permits for security camera installations.
Outdoor 360 cameras run $150 to $400, depending on night vision quality, resolution, and weatherproofing class. Advanced models from brands showcased on CNET product reviews often include AI-powered person detection, which reduces false alerts from animals or wind-blown debris.
Choose indoor if you’re monitoring a single interior space: choose outdoor if you need perimeter surveillance and are willing to handle weatherproofing details upfront.
Installation Tips for DIY Setup
Placement first. Before buying mounting hardware, choose where your camera will live. For indoor use, a ceiling mount near the center of the room gives the most balanced coverage. For outdoor use, aim for a high vantage point (eave, fence post, or corner) where the camera surveys your property’s entry points without being shaded by trees or structures during typical daylight hours.
Gather your tools and materials:
- Drill (corded or cordless) with bits for pilot holes
- Stud finder (for wall or eave mounting) to locate solid framing
- Screwdriver (Phillips or Robertson, depending on your fastener)
- Caulk gun and outdoor caulk (for outdoor models, to seal screw holes)
- Spirit level to ensure the camera isn’t tilted
- Flashlight (for checking framing behind walls)
- Stainless steel or galvanized fasteners (for outdoor use: avoid rusting plain steel)
- PoE injector or power adapter (depending on your camera model)
Installation steps:
- Turn off power to the outlet where you’ll plug in the camera (or disable WiFi temporarily while setting up network credentials).
- Attach the bracket to your mounting surface. For drywall alone, use heavy-duty drywall anchors rated for your camera’s weight (check the manual). For solid framing (studs, joists), drill pilot holes slightly smaller than your screws and drive fasteners at least 1.5 inches deep.
- Position the camera level using your spirit level. Tilting the camera downward slightly (about 5–10 degrees) reduces glare from reflections and improves night vision performance.
- Connect power or Ethernet. If running cable outdoors, use UV-rated conduit to protect wiring from sun damage. For outdoor installations, apply a bead of exterior caulk around cable entries to prevent water intrusion.
- Download the app on your phone and follow the manufacturer’s WiFi setup instructions. Most cameras use a QR code pairing process, you scan the code with your phone camera, enter your WiFi password, and the app guides you through the rest.
- Test motion detection and night vision by walking in front of the camera and checking the app for alerts. Adjust sensitivity thresholds if you’re getting too many false positives from passing leaves or car headlights.
Common mistakes to avoid: Don’t skip the pilot holes (screws splitting fasteners or pulling out of drywall are common failures). Don’t assume your WiFi signal reaches your mounting location, test connectivity before final installation. And don’t rely on drywall anchors alone for outdoor cameras: the weight and wind load demand framing attachment.
For structural questions, load-bearing walls, permit requirements, or electrical work, consult your local building authority or home security camera guides from trusted sources. Some jurisdictions require permits for outdoor security installations, especially if you’re running new electrical circuits.
Conclusion
A 360-degree security camera simplifies home surveillance by delivering panoramic coverage and flexible digital control from a single device. Whether you choose an indoor model for a garage or living space, or an outdoor unit for perimeter security, the key is matching the camera type to your environment and installing it thoughtfully. Proper mounting, weatherproofing (for outdoor models), and network setup take a few hours but save money and complexity over a multi-camera approach. Start with a quality device suited to your needs, take time with installation prep, and you’ll have a reliable eye on your home.