When you own a small business, protecting your property goes beyond locked doors. A solid security camera system keeps watch when you can’t, discourages theft, documents incidents, and gives you peace of mind whether you’re on-site or miles away. The good news: you don’t need to hire a security contractor or spend thousands to get effective surveillance. With 2026 technology, plenty of DIY-friendly systems deliver professional-grade footage and smart features that business owners can install and manage themselves. This guide walks you through what separates great small business camera systems from the mediocre ones, compares wireless and wired options, and covers indoor and outdoor picks so you can choose what fits your space and budget.
Table of Contents
ToggleKey Takeaways
- A best small business security camera system balances resolution (1080p minimum, 2K/4K preferred), night vision, and storage options—cloud backup or local storage—to match your protection needs and budget.
- Wireless systems install faster with fewer cables and work well for small retail spaces, while wired systems provide reliable power and faster local storage for sprawling properties or areas with weak Wi-Fi.
- Indoor cameras should prioritize low-light performance and 7+ days of local storage; mid-range dome cameras ($80–$150) deliver solid reliability and blend seamlessly into business spaces.
- Outdoor cameras require IP65+ weather ratings and PoE (Power over Ethernet) for wired installations, with infrared range tested in your actual space—expect $120–$300 per camera for 2K resolution and reliable night vision.
- Smart placement avoiding glare, combined with motion-triggered recording and mobile alerts, ensures your best small business security camera system captures actionable footage of doors, cash registers, and entry points.
- DIY installation is achievable for wireless systems; for wired systems, hiring a licensed installer ($500–$1,500) ensures code compliance and failsafe reliability, especially if networking feels uncomfortable.
What Makes a Great Small Business Camera System
Top Features to Look For
A worthwhile small business camera system needs resolution you can actually read, 1080p is the baseline, but 2K and 4K cameras let you zoom into footage without losing detail, which matters when you need to identify faces or license plates. Night vision is non-negotiable: an infrared (IR) camera captures usable footage in darkness without needing additional light.
Look for systems with cloud or local storage options. Cloud backup keeps footage safe if someone grabs your DVR, though it requires a reliable internet connection and monthly fees. Local storage (on a hard drive or SD card) gives you privacy and no subscription costs, but you lose footage if the device is stolen.
Field of view (FOV) tells you how wide the camera sees, anything under 100 degrees is narrow, while 150+ degrees covers more ground but introduces fisheye distortion. Choose based on what you’re monitoring: a cash register needs tight focus, but an entrance door benefits from wider coverage.
Budget vs. Quality Considerations
Entrypiece systems run $200–$500 and include 2–4 cameras with basic cloud storage. You’ll get decent resolution and night vision, but limited customization and fewer advanced features. Mid-range setups ($500–$1,500) add more cameras, local storage options, and better apps for remote viewing. Premium systems ($1,500+) offer 4K resolution, AI-powered motion detection, two-way audio, and professional integrations.
Don’t assume expensive equals better for your needs. A $400 wireless system monitoring a retail counter often outperforms a $2,000 wired setup designed for large warehouses. Ask yourself: what are you protecting, and how much footage do you actually need to review? Honest answers prevent overspending.
Wireless vs. Wired Systems: Which Is Right for Your Business
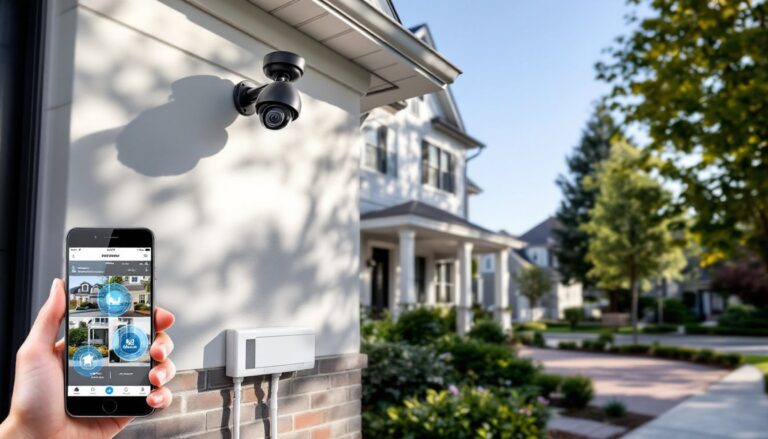
Wireless systems use Wi-Fi or cellular to send video to the cloud or a local hub. Installation is faster, no running cables through walls, and you can relocate cameras easily. The trade-off: Wi-Fi networks can drop signals, batteries need charging (unless you buy expensive solar or PoE adapters), and subscription fees for cloud storage add up. They’re ideal for small spaces, temporary installations, or when you can’t drill into walls.
Wireless Security Systems work best in businesses with solid 2.4 or 5GHz coverage everywhere you plan to place cameras. Test your Wi-Fi signal strength in corners and outdoor areas before committing. Some systems let you swap between cloud and local storage, which is handy if your internet hiccups.
Wired systems run coaxial or Ethernet cables from cameras to a central DVR (digital video recorder) or NVR (network video recorder). Installation demands more upfront work, running cables through walls, attics, or conduit, but once done, you get reliable power, no batteries, and fast local storage. Wired systems work in areas with weak Wi-Fi and don’t depend on internet for basic recording.
The practical difference: wireless suits a small retail shop or office. Wired suits a sprawling property, outdoor perimeter, or place where Wi-Fi is unreliable. Many businesses use both, wireless for quick-deploy interior cameras, wired for permanent exterior coverage.
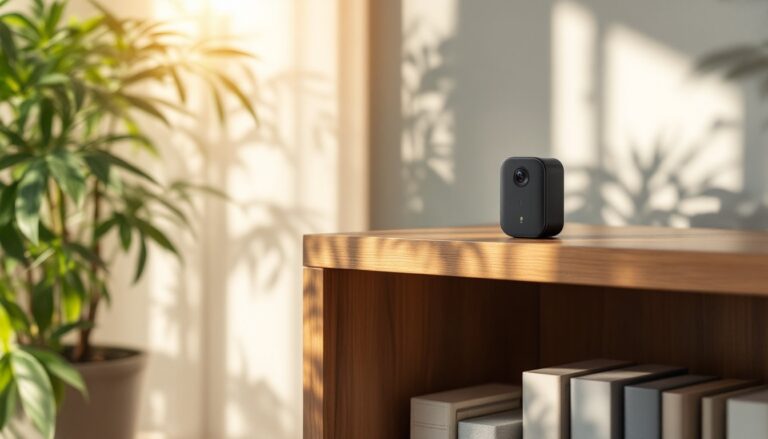
Indoor Security Camera Options
Indoor cameras monitor cash registers, stockrooms, hallways, and entry points. Dome cameras mount flush to ceilings and blend in, good for retail or offices where you don’t want obvious surveillance. Bullet cameras stick out and deter theft visually: they’re sturdy and often weatherproof, so they work indoors and outdoors.
Turret cameras (shaped like small cylinders) sit between domes and bullets, less conspicuous than bullets but more flexible than domes. Pinhole cameras hide inside bookshelves or clocks, though this raises ethical and legal concerns: check your jurisdiction’s recording consent laws before using hidden cameras.
For indoor use, prioritize cameras with good low-light performance. Many business spaces have dim corners, and a camera claiming “1080p” falls apart in shadows. Compare actual footage samples in your lighting conditions before buying. Pan-tilt-zoom (PTZ) cameras let you move and zoom remotely, useful if you’re monitoring a large showroom, but they cost more and need stronger network bandwidth.
Recent security camera systems reviewed by independent testers show that mid-range indoor domes (around $80–$150 per camera) deliver solid image quality and reliability. Look for systems offering at least 7 days of local storage so minor incidents aren’t lost if you forget to back them up to the cloud. Mounting is straightforward, most use simple brackets and take 20 minutes per camera.
Outdoor Security Camera Options
Outdoor cameras face weather, sun glare, and temperature swings, so durability matters. Look for an IP rating (Ingress Protection): IP65 resists jets of water, IP66 handles heavy rain and snow, and IP67 can be submerged briefly. Don’t cheap out here, a $60 camera fails in six months if it’s not rated for your climate.
Outdoor bullet or turret cameras with 2–4mm lenses provide narrow focus (good for monitoring a doorway from 15 feet away), while wider lenses (6–12mm) capture a broader driveway or parking area. Infrared range matters: some cameras see 30 feet in darkness, others reach 50+. If you’re monitoring a large area at night, test the actual IR distance in your space, marketing claims often exaggerate.
Wired outdoor cameras typically use PoE (Power over Ethernet), meaning one Ethernet cable delivers both power and video. This simplifies installation, no separate power lines, and is more reliable than wireless in open areas. Wireless outdoor cameras need strong Wi-Fi or cellular backup. They’re easier to relocate but suffer more from signal drops.
Motion-activated recording saves storage and battery life. Pair it with smart alerts sent to your phone so you know immediately if someone’s at the door. External resources like CNET’s small business camera guide compare real-world outdoor performance across brands and price points. Expect to spend $120–$300 per outdoor camera for decent 2K resolution and reliable night vision.
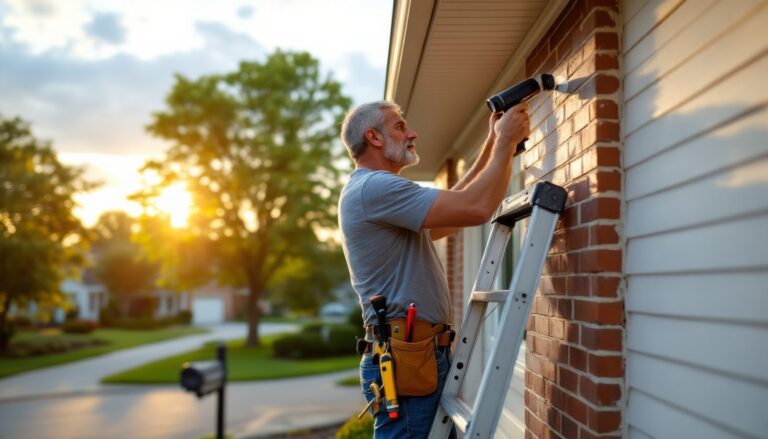
Installation Tips for DIY Business Owners
Safety first: Turn off power at the breaker before running any wired cables, and wear safety glasses if you’re drilling overhead. Use a stud finder to locate framing, and avoid hitting electrical wiring or plumbing.
For wireless cameras, pick a location with strong Wi-Fi signal and clear line of sight to your router. Walls, metal filing cabinets, and other obstacles weaken signal. Test camera placement with the manufacturer’s app before finalizing mounting. Many wireless systems let you live-view on your phone during setup so you know instantly if the angle and focus work.
Wired installs require more planning. Map out camera locations, then trace the cable route, attics, conduit, or inside walls. Use plenum-rated cable if running through air-return spaces (code requirement in most jurisdictions). Label cables and terminations so you can troubleshoot later. Connect cameras to the DVR or NVR, then configure the unit’s network settings so it can transmit to the cloud (if you want remote access).
Both types benefit from thoughtful placement. Avoid pointing cameras directly at bright windows or lights, glare washes out image detail. Frame doorways, cash registers, or parking areas at angles that capture faces and activity, not just the top of heads. Test footage in different times of day: daytime video is useless if night-time image is too dark.
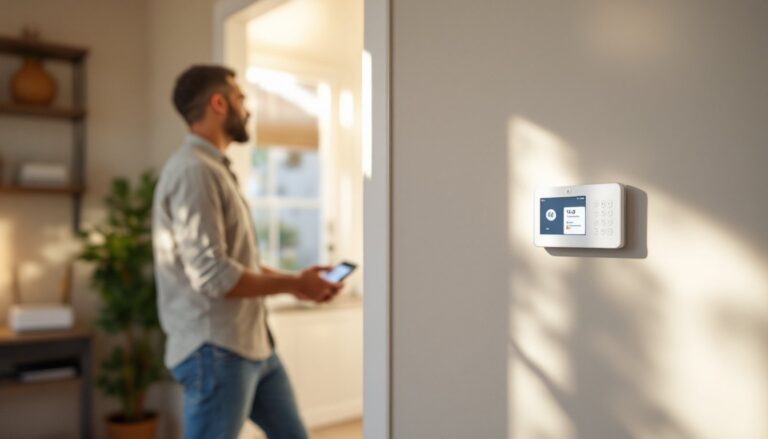
Set up mobile alerts and storage schedules before you finish. Most systems let you choose continuous recording or motion-triggered mode. Continuous uses more storage but captures everything: motion-triggered misses events if someone moves slowly. Digital Trends’ small business camera comparison outlines setup steps for popular systems. If you’re uncomfortable with networking or want failsafe reliability, hiring a licensed security installer for wired systems is reasonable and often costs $500–$1,500 for labor.