When you’re responsible for a home, the thought of break-ins, package theft, or even just knowing what’s happening while you’re away weighs on your mind. You’ve probably scrolled through dozens of security camera reviews, only to feel overwhelmed by technical jargon and competing claims. The good news: you don’t need a professional installer or years of tech experience to set up a solid security system. Lorex security camera systems have become a popular choice for DIYers because they balance ease of installation with genuine reliability. This guide walks you through what makes Lorex tick, how to pick the right system for your home, and what to expect during installation so you can protect your property without the contractor markup.
Table of Contents
ToggleKey Takeaways
- Lorex security camera systems prioritize DIY installation and local storage on NVR/DVR hardware, eliminating ongoing subscription fees and protecting your footage even when internet connectivity drops.
- Most Lorex camera models offer 2K or 4K resolution with infrared night vision extending 100+ feet, plus some newer systems include color night vision for better detail identification in low-light conditions.
- Lorex systems use straightforward plug-and-play installation with PoE (Power over Ethernet) or coax cables, allowing first-time homeowners to set up a 4-camera system in 30 minutes to an hour without professional help.
- A complete wired Lorex security camera system ranges from $300–$400 for basic 4-camera kits up to $1,200+ for premium 8-camera setups, offering strong value compared to boutique brands and professional installation costs.
- Proper cable planning, secure wall mounting using studs or concrete anchors, and NVR placement in climate-controlled spaces are critical for reliable long-term operation and preventing equipment damage.
- Testing motion detection after installation and adjusting sensitivity settings prevents false alerts while ensuring your Lorex system consistently captures genuine security events.
Why Lorex Stands Out for DIY Home Security
Lorex has built its reputation on systems designed with homeowners in mind, not commercial installers. Unlike some competitors that assume you’re wiring up a strip mall, Lorex prioritizes straightforward setup, decent documentation, and a realistic approach to what a DIYer can handle.
One of the main reasons homeowners gravitate toward Lorex is the local storage option. Many modern security systems push cloud-based storage as the default, which means ongoing subscription fees and reliance on internet connectivity. Lorex’s Network Video Recorder (NVR) or Digital Video Recorder (DVR) models store footage locally on a hard drive, giving you footage access even if your internet drops. That’s a practical advantage, especially during the moments when connectivity matters most.
Another factor: warranty and support. Lorex typically offers generous warranty terms (often 2 years on hardware) and maintains responsive customer support channels. When you’re troubleshooting at 10 p.m. on a Saturday because motion detection isn’t working, that matters.
Lorex systems are also competitively priced for the feature set. You’re not paying for brand hype or overly complex features you’ll never use. Instead, you get solid cameras, dependable recording hardware, and installation-friendly wiring, without the premium price tag of boutique alternatives.
Key Features That Make Lorex Systems Worth Considering
Camera Quality and Night Vision Capabilities
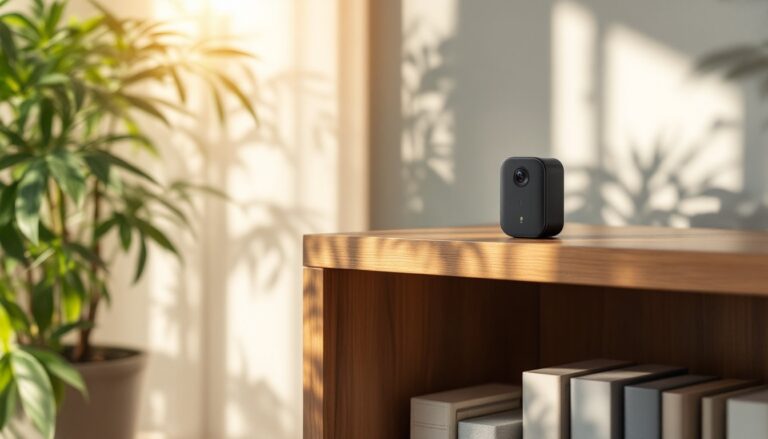
Lorex cameras come in several tiers, but most models in their consumer lineup offer 2K or 4K resolution (2560 × 1920 pixels and above). That means clearer facial recognition, readable license plates, and easier identification of what actually happened in that package-theft video.
Night vision is where Lorex earns its reputation. Most models use infrared (IR) LEDs that illuminate the scene in grayscale out to 100+ feet, depending on the camera model. Some newer Lorex systems include color night vision, a technology that maintains color footage at night by using enhanced sensors and software processing, useful when identifying details like a car color or a shirt hue.
The field of view (FOV) on Lorex cameras ranges from about 75 degrees (tighter, fixed focus) to 110+ degrees (wider, often with motorized pan-tilt). Wider FOV covers more ground but can introduce barrel distortion: tighter FOV gives sharper detail of a specific zone. Your choice depends on what you’re monitoring, a driveway benefits from narrower focus, while a backyard might need the wider angle.
Easy Installation and Setup
Unlike some systems requiring custom scripting or app-based pairing dances, Lorex uses a straightforward plug-and-play design for many models. The NVR or DVR box connects to your router and power: cameras connect via PoE (Power over Ethernet) or traditional coax + power cables, depending on your system type.
PoE cameras run on a single Ethernet cable, making runs cleaner and reducing the number of wall penetrations. Coax systems use the traditional RG-59 or RG-6 coaxial cable (older analog approach, still reliable) paired with separate power runs. Both work: PoE is neater if your home supports it.
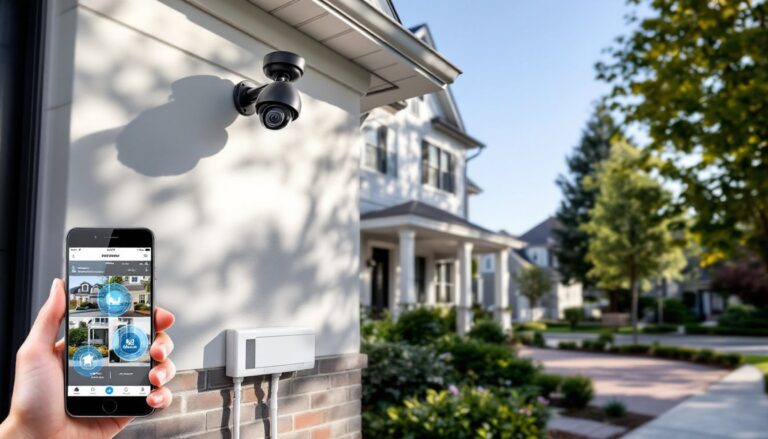
The mobile app is functional without being flashy. You get live view, motion alerts, and playback. It’s not a photography app, but it does the job. Once initial setup is complete, usually 30 minutes to an hour for a 4-camera system, most homeowners report hassle-free operation for years.
Choosing the Right Lorex System for Your Home
Start by counting vulnerable entry points and sightlines. Do you need cameras at the front door, back door, garage, and driveway? That’s a 4-camera baseline. If you also want corner coverage or want to monitor a side yard, add another. Most Lorex systems scale from 4 to 16 cameras, so sizing isn’t a limitation.
Next, consider your storage needs. A 2-4 camera system with 2-4 weeks of rolling buffer on a 2 TB hard drive is typical. If you want longer retention (say, 60 days), jump to a 4 TB drive. The NVR specs will tell you expected retention based on resolution and frame rate: factor in that higher resolution and continuous recording (vs. motion-triggered) eat storage faster.
Decide between wired and wireless. Wired systems (NVR/DVR-based) are more reliable for continuous recording and don’t depend on Wi-Fi strength. Wireless Lorex systems (battery-powered or plug-in cameras synced via Wi-Fi) trade some reliability for easier installation, no running cables through walls. If your home already has Ethernet runs or you’re comfortable drilling holes, wired is the pro move. If you rent or can’t modify walls, wireless is your path.
Budget typically ranges from $300–$400 for a basic 4-camera wired kit (NVR, cameras, cables, hard drive included) up to $1,200+ for premium 8-camera systems with higher resolution and fancier analytics. Wireless kits tend to be a bit pricier per camera because each unit needs its own power source.
Installation Tips for First-Time Homeowners
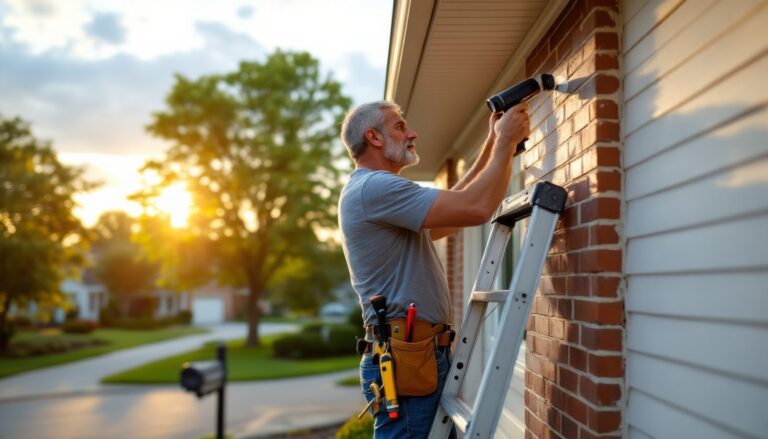
Before you drill, plan. Stand in each room and zone where you’ll mount cameras. Mark sightlines on paper: note obstacles like eaves, shrubs, or glare from neighboring windows. A camera mounted too high aims at the sky: too low catches feet and not faces.
Run cables in the walls or conduit. If you’re running coax, use 3/4-inch PVC conduit stapled to the underside of your soffit or run through the attic. PoE runs over standard Ethernet, which is smaller and easier to fish through walls. Label both ends of every cable before burying it in the wall, your future self will thank you.
Most Lorex cameras mount on simple 1/2-inch NPT (National Pipe Thread) brackets that screw into wall studs or concrete. Use lag bolts for wood, concrete anchors or a masonry bit for brick/cement. Don’t rely on drywall anchors alone: they’ll sag under the camera weight over time. Aim for studs when possible.
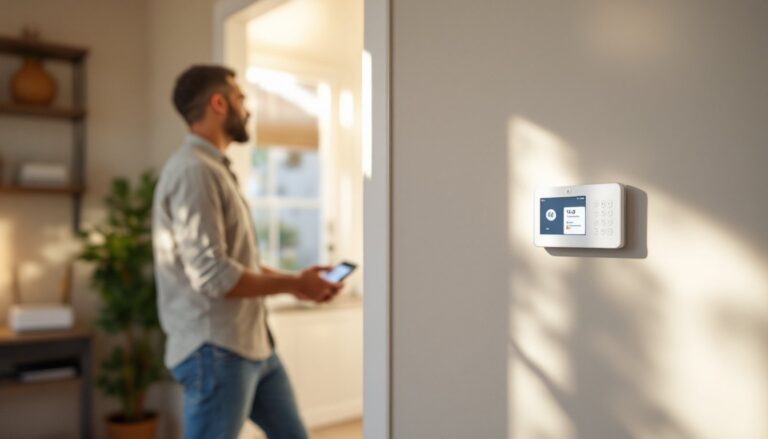
NVR/DVR placement matters. The recorder box should live in a secure, climate-controlled space, not outside or in a sweltering attic. A basement corner, garage shelf, or utility closet works. Keep it near your router for stable network connection. Ensure 4-6 inches of clearance around the unit for airflow: these boxes generate heat.
Wear safety gear. If you’re drilling or cutting into walls, wear eye protection and a dust mask. If running cable outdoors or on roofs, use a safety harness if climbing. Ladders cause more injuries than any DIY project: set them on level ground and have someone spot you.
Once cameras are mounted and cables are run, power on the NVR, let it boot (1-2 minutes), and follow the on-screen setup wizard. You’ll configure network settings, set up motion detection zones, and create user accounts. Most people do this part sitting down, it’s not hard, just methodical.
Test motion detection before you leave. Walk in front of each camera at different times of day and night. Tweak sensitivity if you’re getting false alerts from trees or headlights. Motion detection tuning is usually the difference between a system you love and one you disable because it’s annoying.
Linked security systems like those found in our Best Home Security System guide often pair well with Lorex for comprehensive coverage. Also, many homeowners find that Home Security Systems provide context for deciding whether a camera-only setup or a fuller alarm integration makes sense. If you’re comparing options, Security System Reviews can help you weigh Lorex against other camera-focused brands. For insight into wired vs. wireless, Wireless Security Systems coverage breaks down the tradeoffs. Professionals often cite Tom’s Guide for thorough camera comparisons and technical specs that validate your choices.
Conclusion
Lorex security camera systems deliver honest, practical protection for homeowners willing to install them. You’ll spend a weekend on setup, not months negotiating with alarm companies, and you’ll own the footage, not rent it. Start by assessing your home’s weak points, pick a system that matches your scale, run cables carefully, and test everything before you call it done. With basic DIY tools and attention to detail, you’ll have a working security system that most professionals would charge thousands to install. That’s the real payoff: capability plus savings, delivered on your schedule.